


Method for installing stainless steel door clip frameless glass door

First,fixed glass installation
1. The installation of the fixed partitionwall should be carried out after the completion of other process constructionin the room. The fixed glass partition and the movable glass door fan must beunified and positioned, and the positioning line of the partition and the glassdoor should be released according to the design requirements, the position ofthe door frame can be determined, and the ground level and the top level of thedoor frame can be accurately measured.
2. Install the glass partition wall and thewidth of the limit groove at the top of the door should be larger than theglass thickness of 2~4mm, and the groove depth should be between 20~30mm forinjection. The installation method can lead two metal decorative board edgesfrom the center line of the bullet, and then install the limit groove at thetop of the door frame by the side line. The wooden backing plate in the notchis to adjust the groove depth. Adjust by increasing or decreasing the pad.
3. Install the wooden bottom of the metalfinish. The installation method can be used to nail the square wood on theoriginal pre-buried wood bricks, or to fix the square wood on the ground byexpanding the bolts, and then sticking the metal veneer to the wooden side withthe multifunctional glue. The aluminum alloy square tube can be fixed on the frame column with aluminum angle or fixed on the wooden brick buried in theground with wood screws.
4. Install the door frame. According to thecenter line of the bullet, the door frame is nailed, and then the plywood isused to determine the size and position of the frame column (note that the sizeof the decorative surface should be reduced). Later, when the metal decorative surface is outsourced, the decorative face-to-head seam is placed in the middleof both sides of the mounting glass. The seam location must be accurate andvertical.
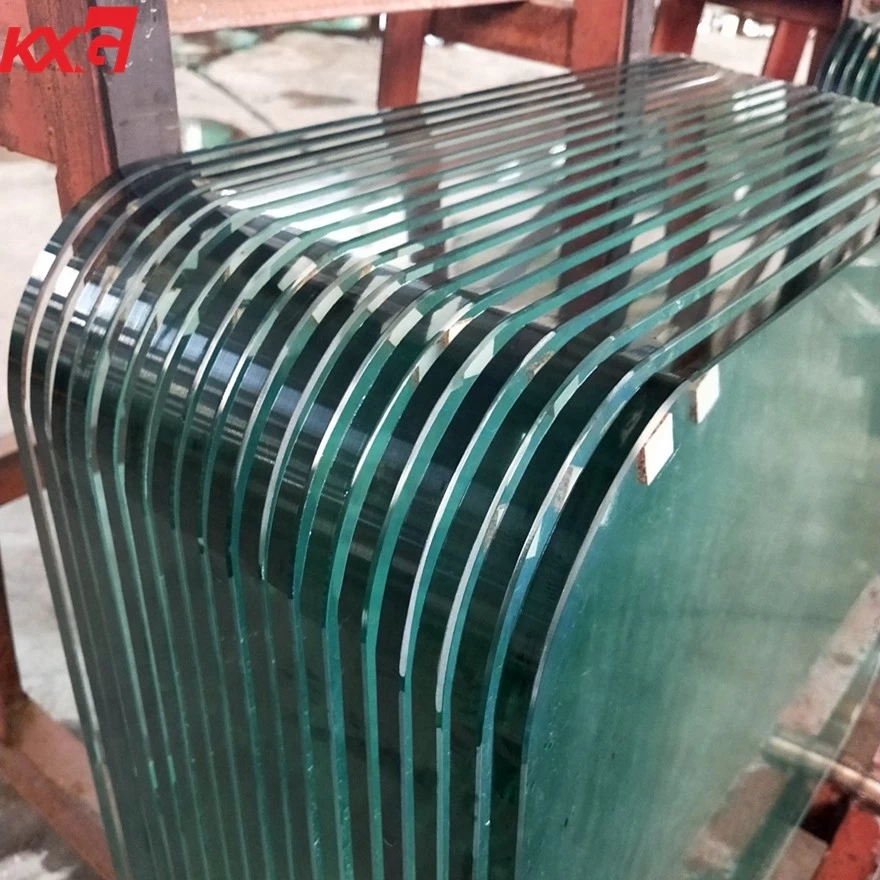
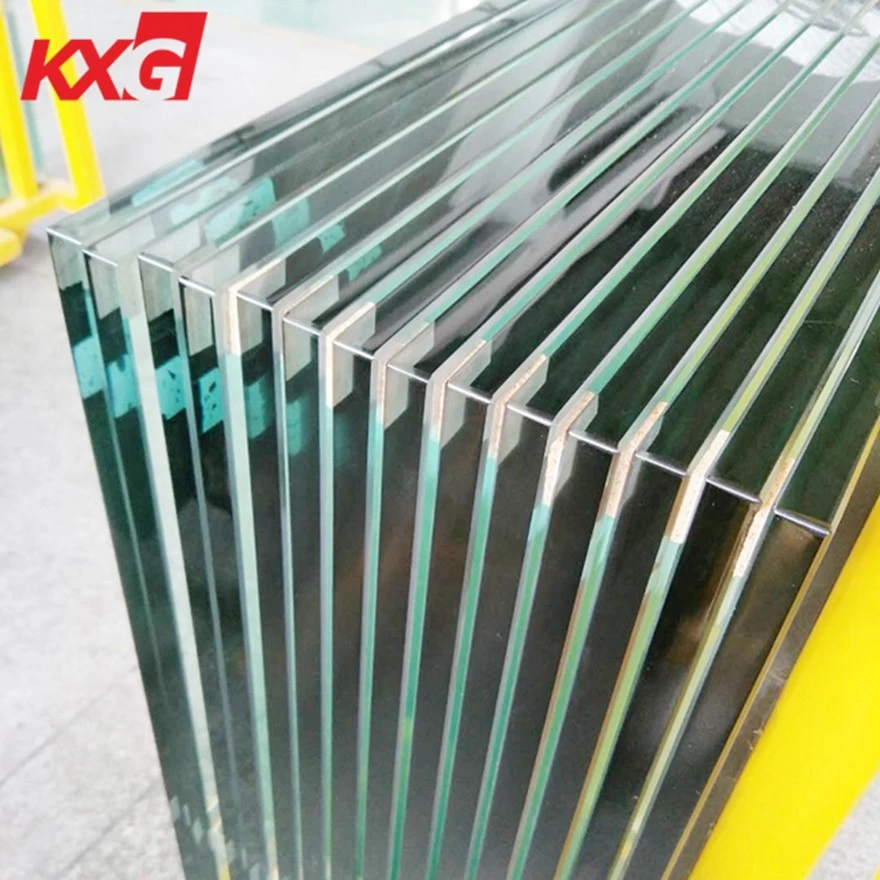
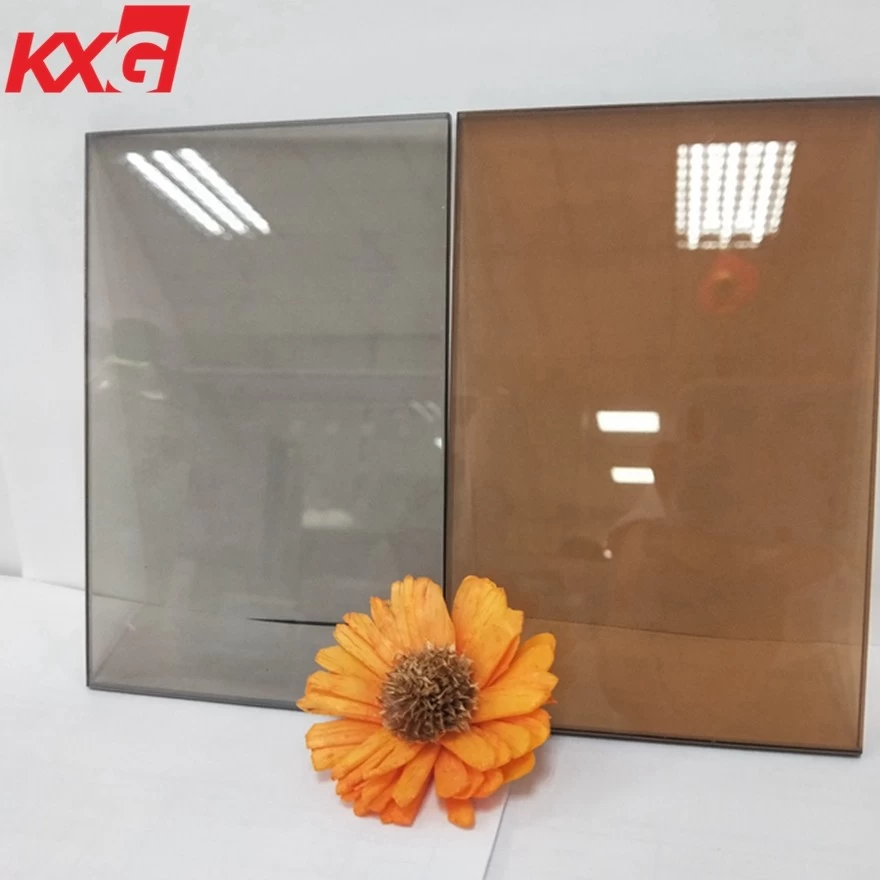
5, glass installation. Use a glass suctioncup (or glass suction cup) to suck the thick glass and then hold the suctioncup to lift the thick glass plate through 2 to 3 people and erect it to the installation site. Placement method: Insert the upper part of the glass intothe limit groove at the top of the door frame, then place the lower part of theglass on the center line on the bottom support, and install the position of thedoor frames on both sides so that the sides of the thick glass are just right.The metal fittings that seal the door frame face the seams, and it is requiredthat the seam joints are not visible inside or outside.
6, the glass is fixed. Two flat squarestrips on the bottom and bottom of the bottom are sandwiched by thick glass,but a gap of about 4 mm is required from the thick glass, and then themulti-purpose glue is applied to the flat strip to decorate the metal. Theboard is stuck on the square wood and two flat wooden strips.
7, injection glass seal. Glass glue isinjected into the gaps on both sides of the top root groove and on both sidesof the glass tray and between the thick glass and the door frame column. Theorder of injection should start from the end of a certain gap to the end, andmust not stop in the middle. The essentials of operation are: the force of thepressure of the caulking gun should be uniform, and the speed of moving alongthe gap should be uniform, that is, with the extrusion of the glass glue, theinjection opening can be moved at a constant speed to make the glass glue forma uniformity in the gap. Straight line. Afterwards, scrape off the excess glass glue with a plastic sheet and wipe off the glue with a clean cloth.
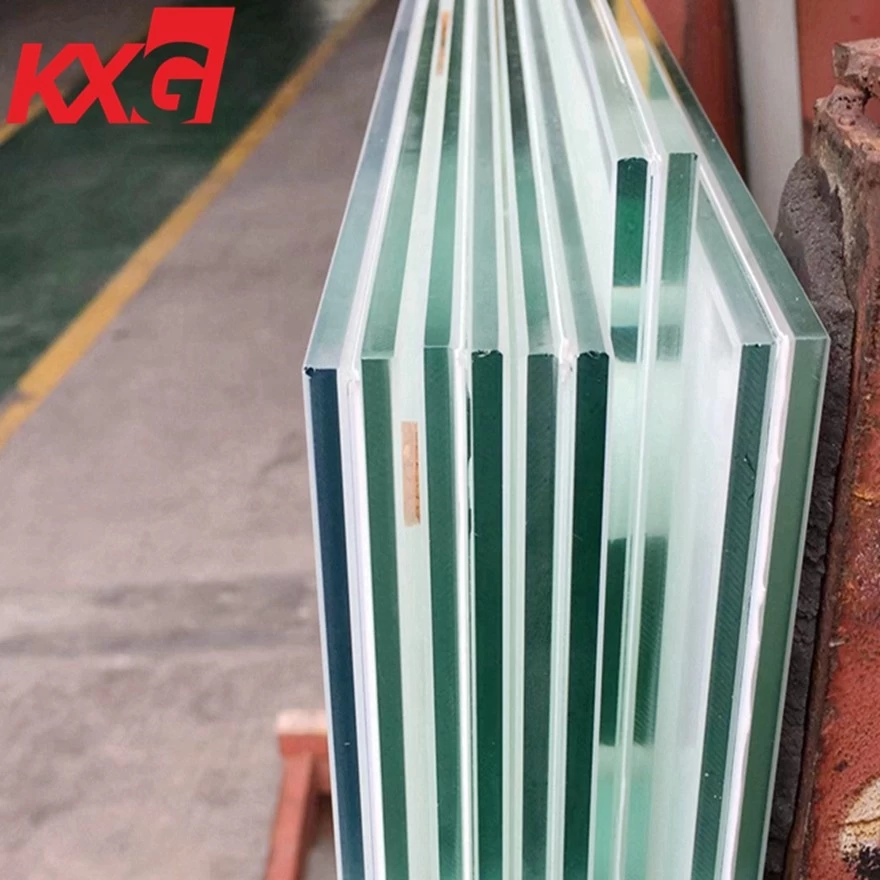
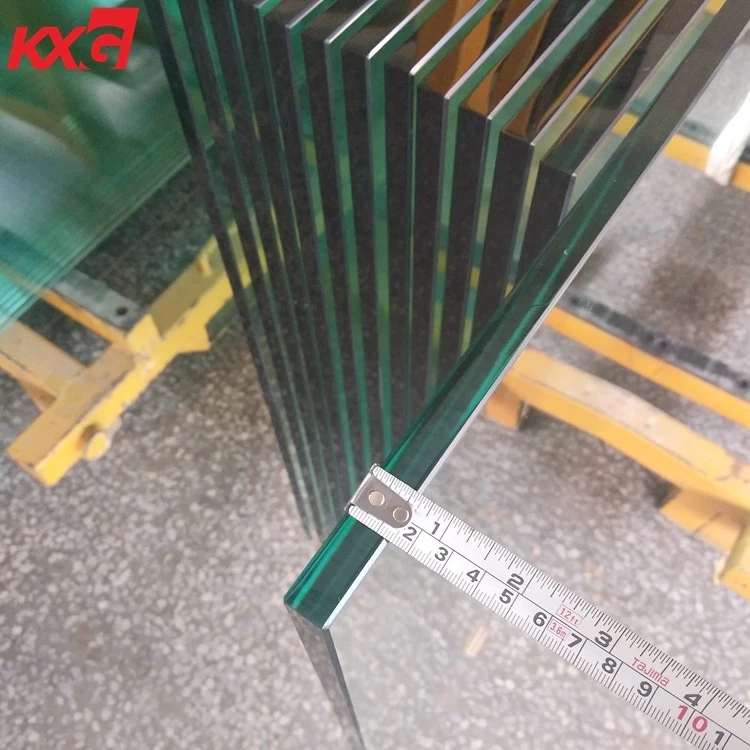
8. Docking between the glass. The thickglass plate of the fixed part must be assembled by two or more pieces due tothe excessively large width. The two pieces of the splicing must form a joint,and the joint should be kept at a distance of 2 to 3 mm (for the seam) Theglass cut must be used). After the glass is fixed, it should be glued into thegap with glass. After filling, the plastic sheet should also be flattened witha plastic sheet to form a clean and uniform straight line. The glass surface shouldbe cleaned with a clean cloth.

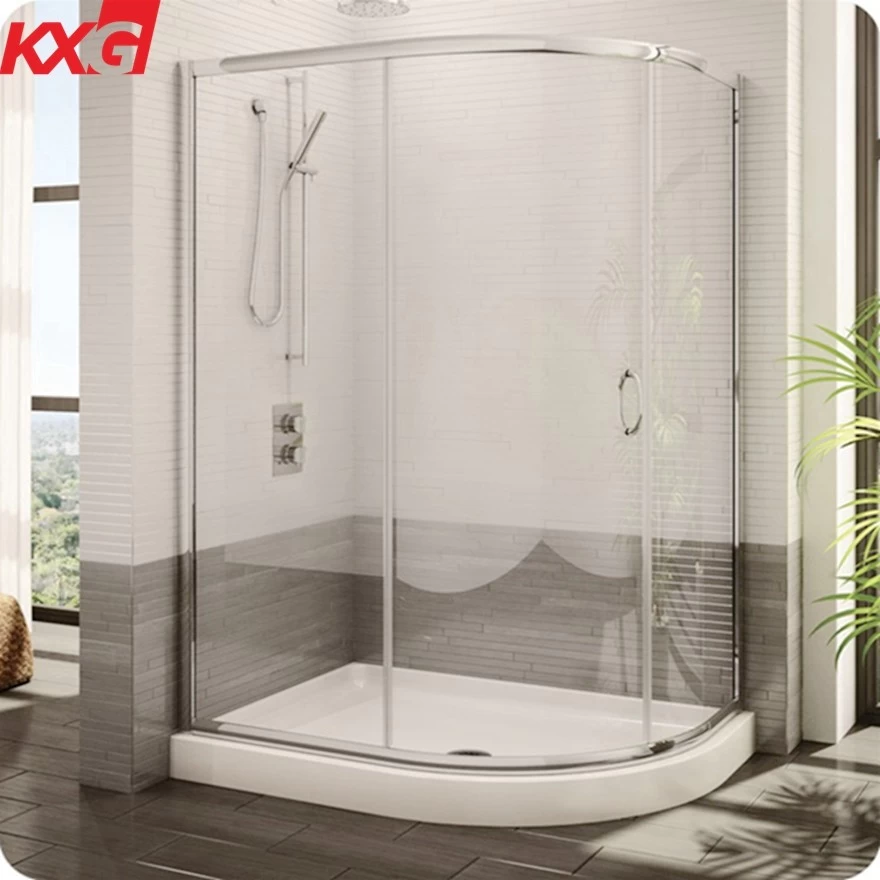
Second, the activity glass door installation points
1. Install the thickened glass that has been cut and chamfered up and down, and set the height of the door leaf (theheight includes the upper and lower horizontal). If the height of the door leafis not enough, you can use the upper and lower cross pieces inside the glassedge. Padded thin wood plywood strips are adjusted. If the door leaf heightexceeds the installation size, professional glass workers are required to cutoff the excess part of the thick glass door leaf. Therefore, the glass heightof the door leaf is rather short and should not be too high.
2. Immediately after the height is determined, the glass should be fixed with the upper and lower rails. The methodis to insert a small wooden strip at the same time in the gap between the thickglass and the upper and lower metal crosspieces, and gently tap into it, andthen inject the glass glue between the small wooden strip, the thick glass andthe metal cross gap, and then put The gap between the glass and the metalcrosspiece is sealed with glass glue.
3. Glass door fan positioning installation:firstly adjust the positioning pin on the door frame beam with its own adjustment screw to the beam plane 1~2mm. Then erect the glass door leaf andput the hole of the rotating pin connector in the lower door of the door leaf.Align the rotation pin of the ground spring and turn the door leaf to fit thehole into the pin. The door leaf is then rotated 90 with the pin as the axis.(Note that the door leaf should be straightened when turning) so that the doorleaf is at right angles to the door beam. At this time, the hole on therotating connecting piece in the crosspiece of the door leaf can be alignedwith the positioning pin on the beam of the front door frame, and thepositioning pin can be adjusted, and inserted into the hole on the connectingmember of the rotating pin connector on the door leaf, about 15 mm, the door leaf It can be opened and closed.
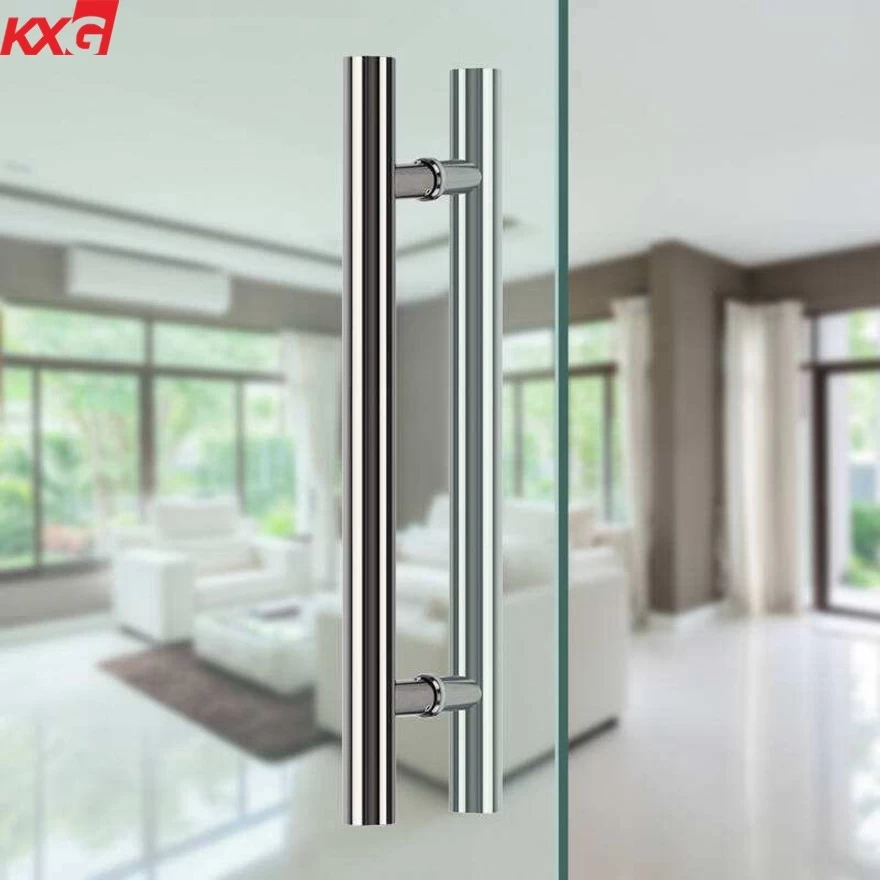
Third, install the glass door handle
When cutting the glass door leaf andchamfering the edge, you should also install the hole for installing the door handle.The attachment part of the mounting handle should not be tight when insertedinto the glass door handle hole and should be slightly loose. If it is tooloose, wrap the soft tape on the insertion area. Before installation, apply alittle glass glue to the glass part of the handle. When the handle isassembled, the root and the glass are closely attached to each other, and thenthe fixing screws are tightened to ensure that the handle is not loose.